


The National Institute of Certified Floor-Covering Inspectors (NICFI) is a
non-profit association of independent floor covering inspectors. NICFI members are expert flooring failure analysts and expert witnesses in flooring problems and failures.
NICFI members are experienced in the inspection and failure analysis of
woven carpet, broadloom carpet, resilient tile, rubber tile, cork tile, ceramic tile, resilient sheet vinyl, vinyl composition tile, LVT, hardwood, laminate, solid vinyl,
and specialty flooring materials.
NICFI members attend the annual NICFI Convention in Dalton, Georgia, to increase their knowledge and update their skills. The Annual Convention includes updates on indicative field testing
procedures, tools, products and product defects. The NICFI is the only Non-Profit Association in the Flooring Industry with membership comprised solely of Certified Floor Covering Inspectors.


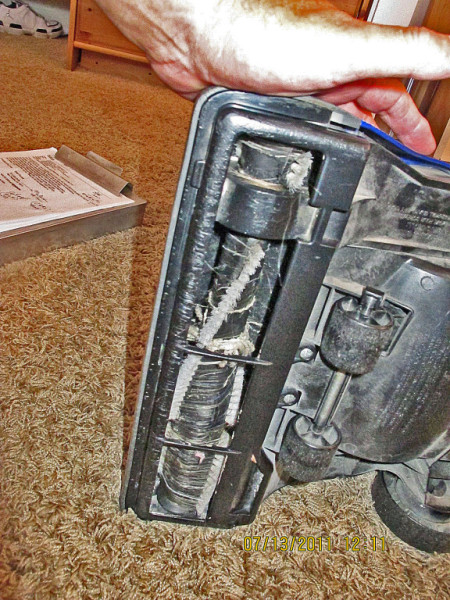
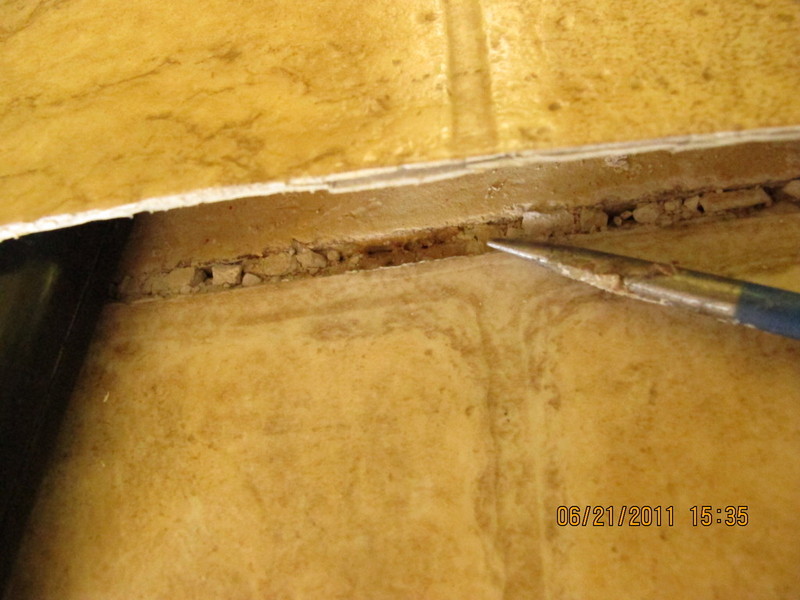
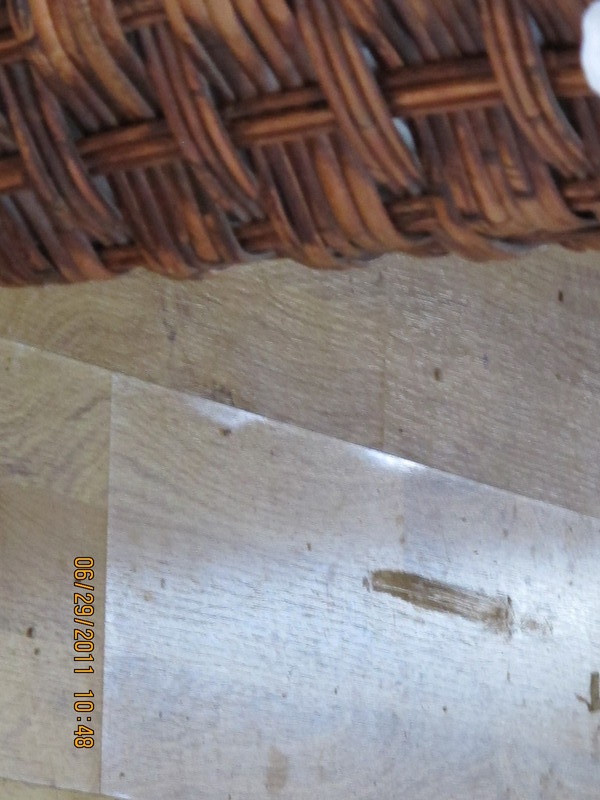
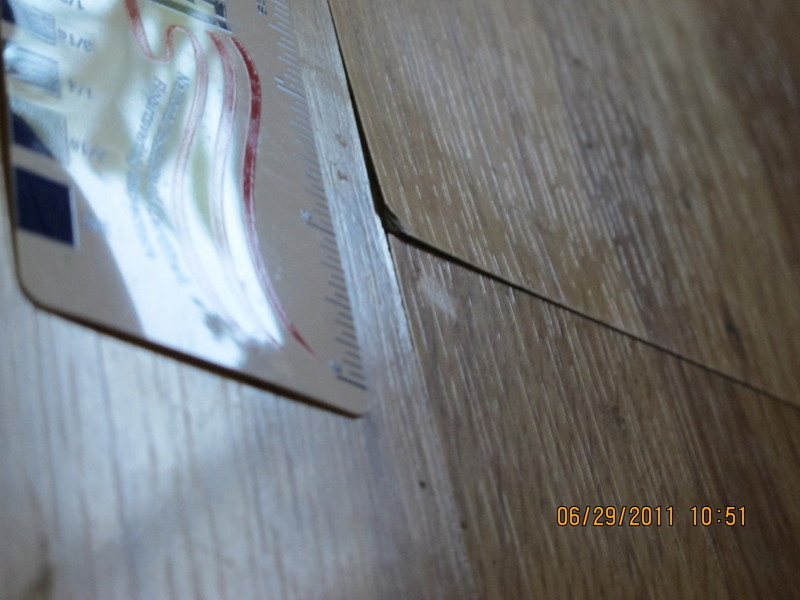
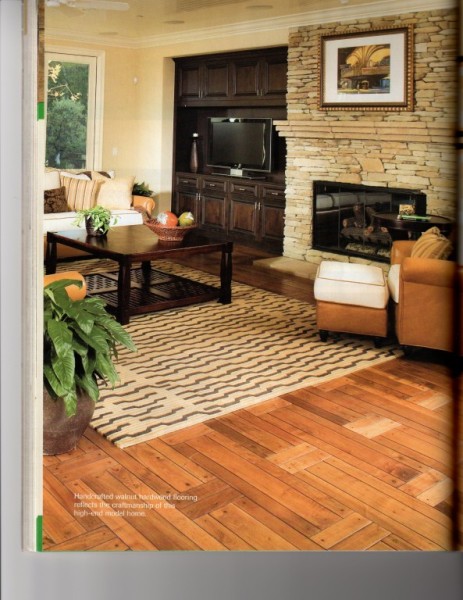
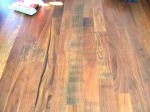
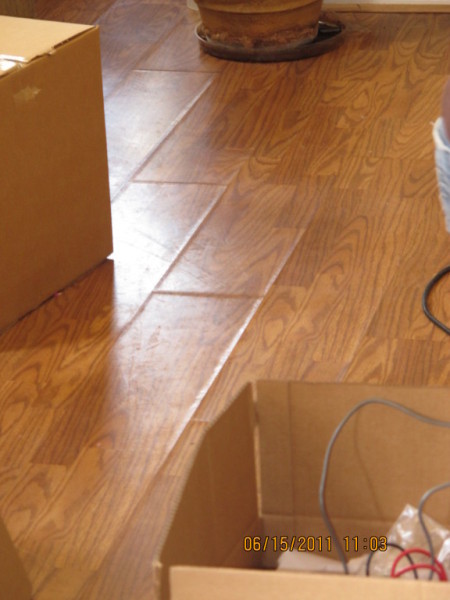
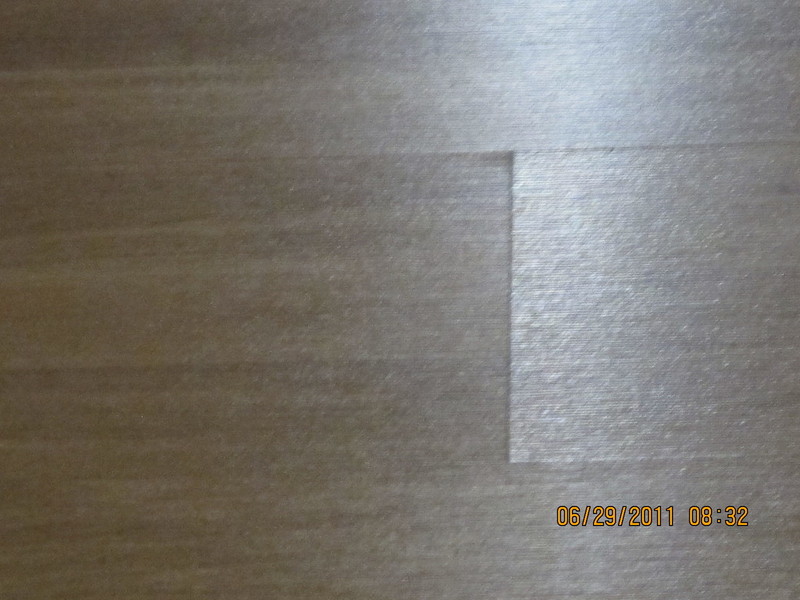
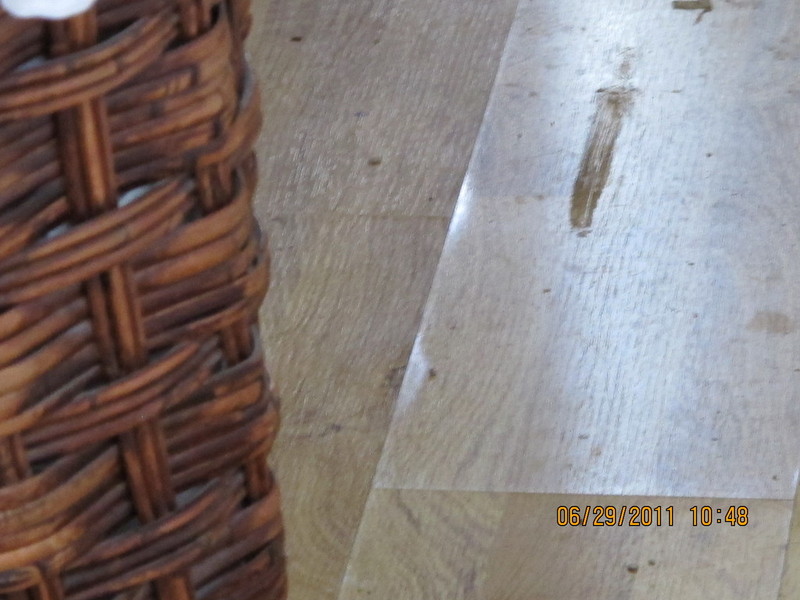
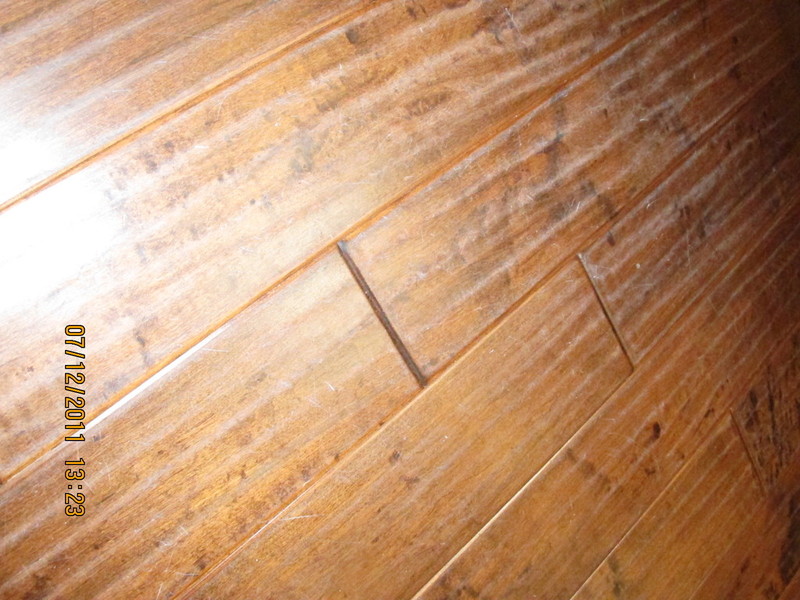
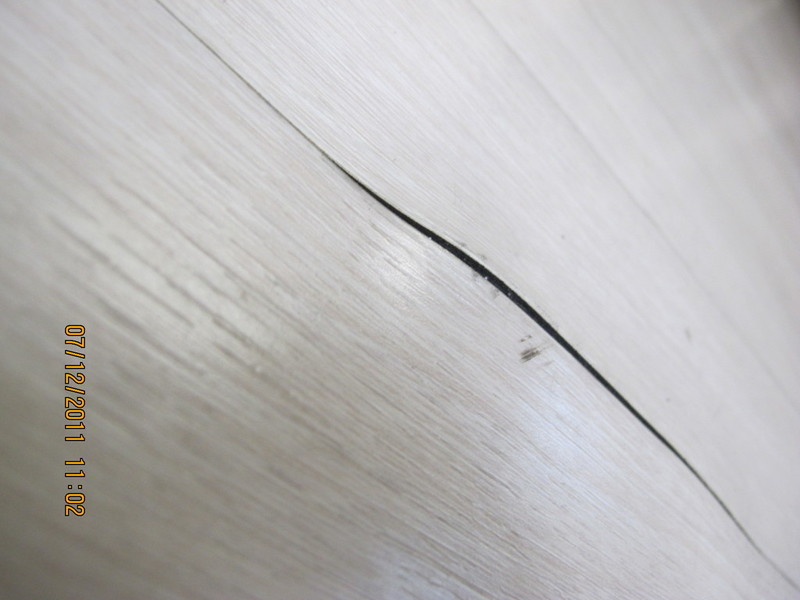
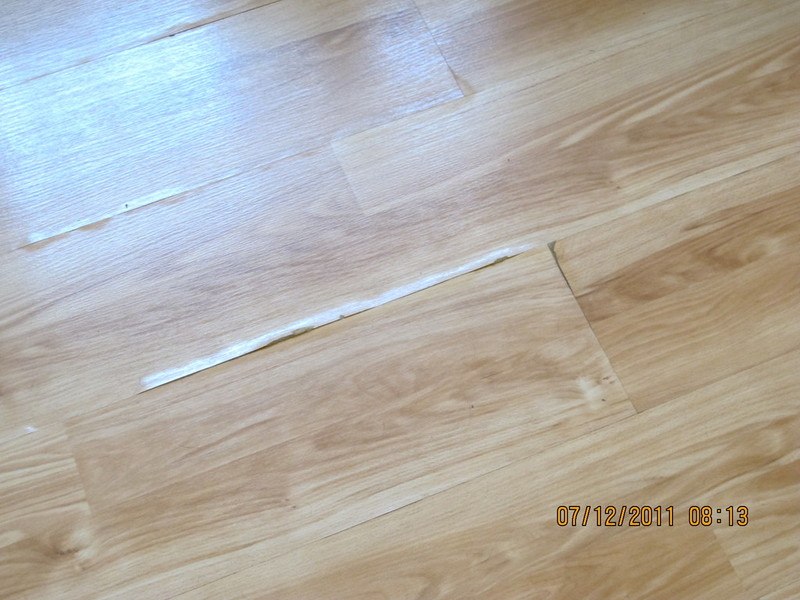
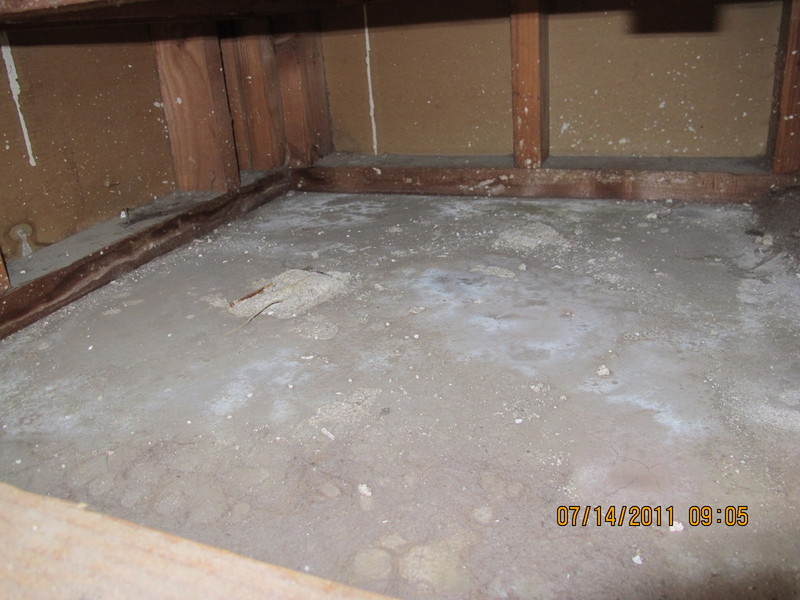
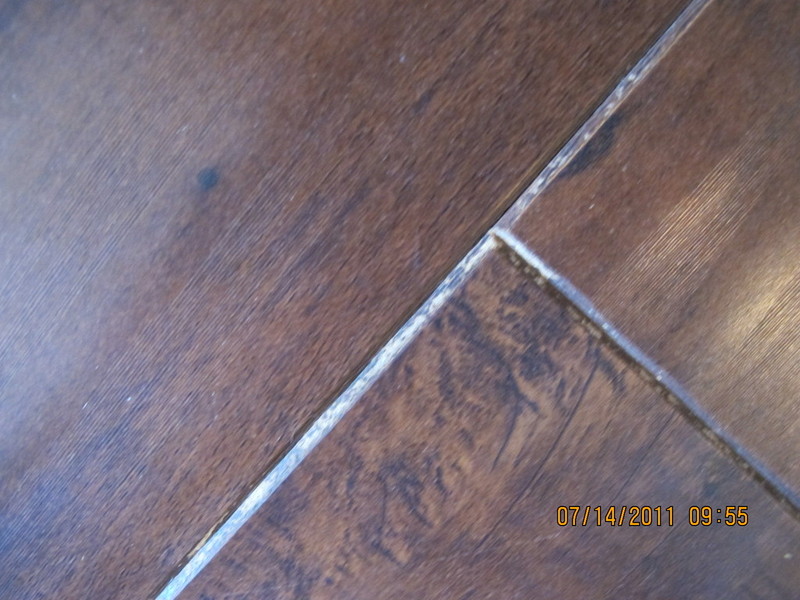
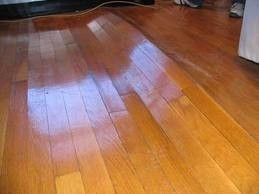
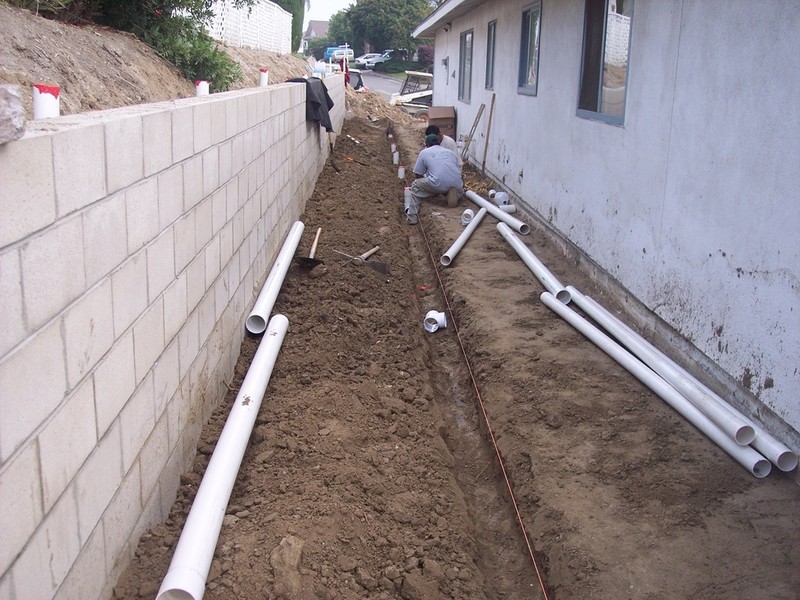
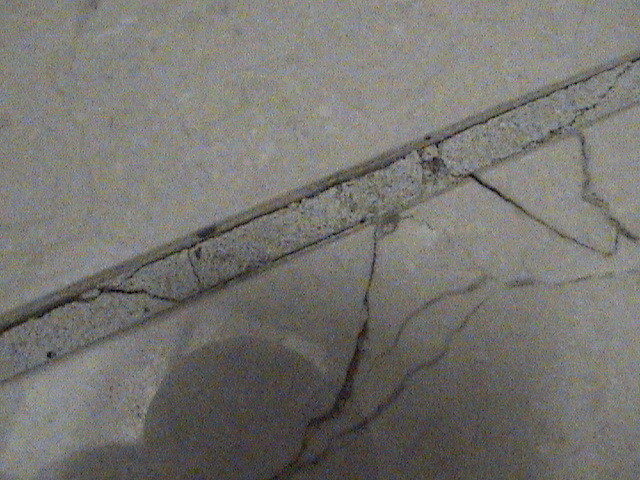
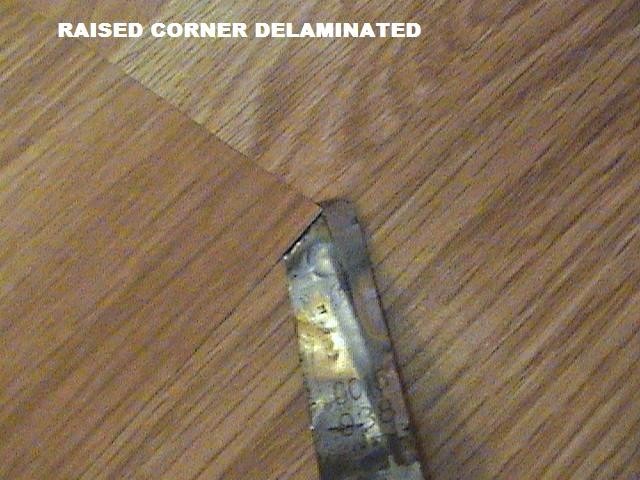
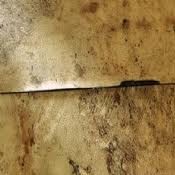
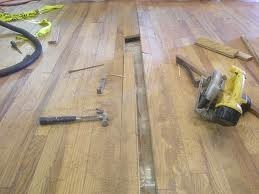
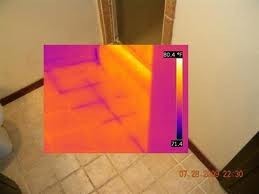
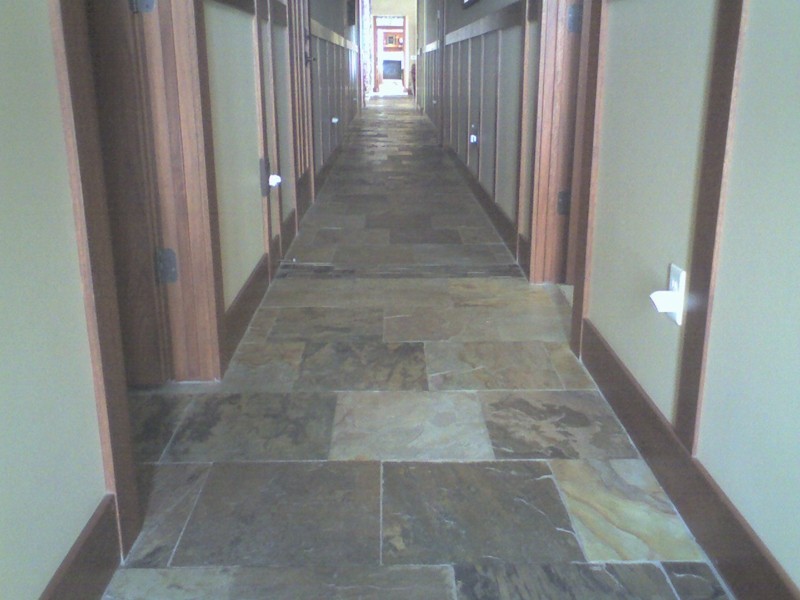
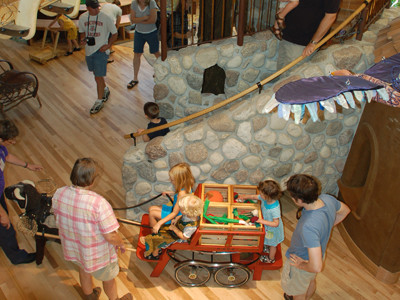
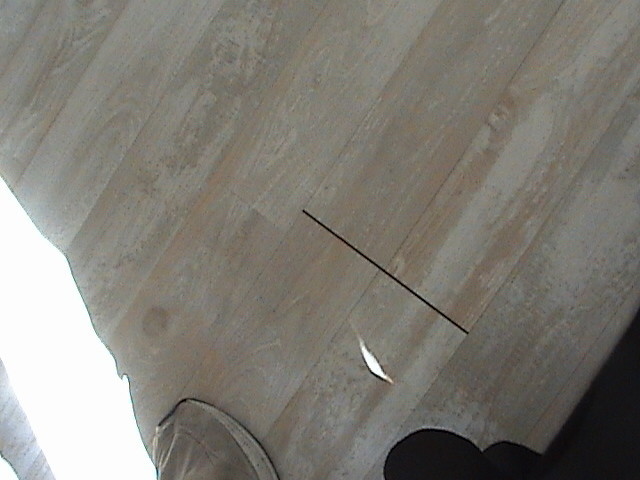
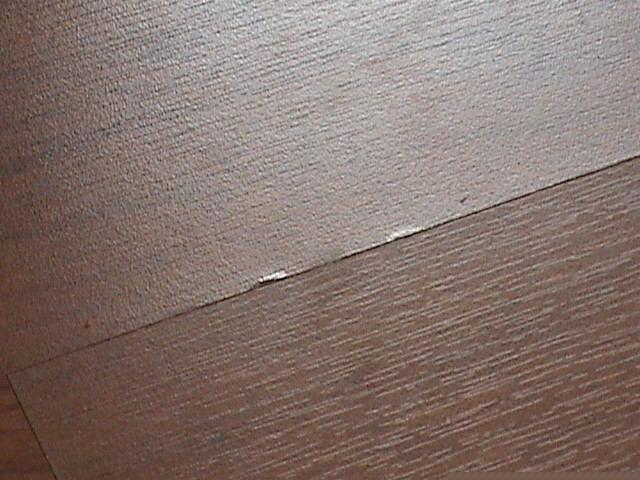
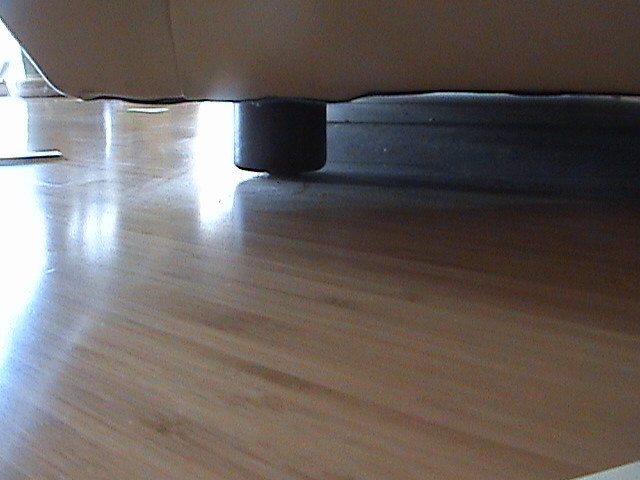
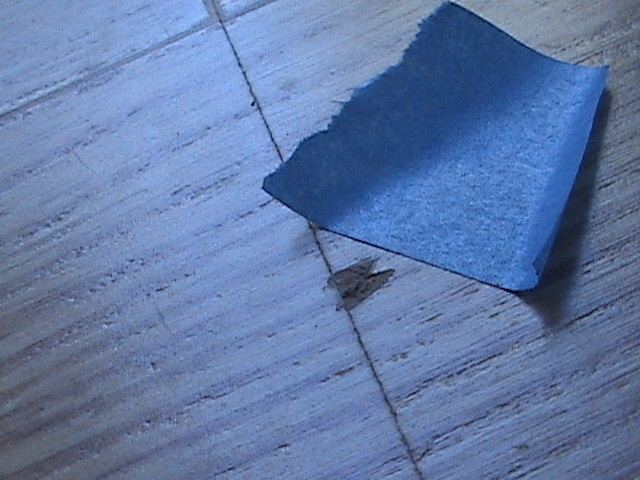
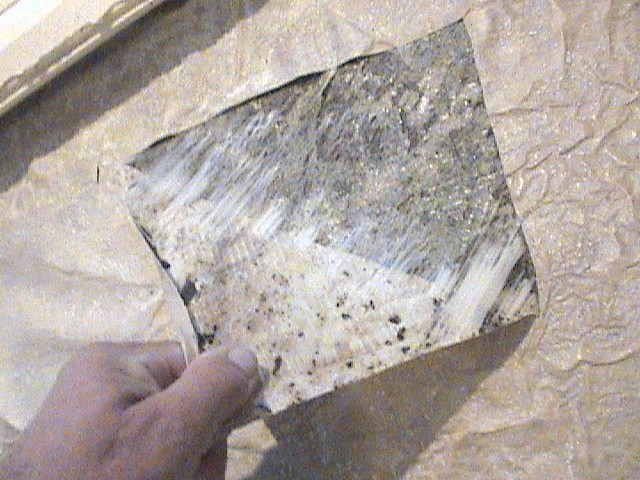
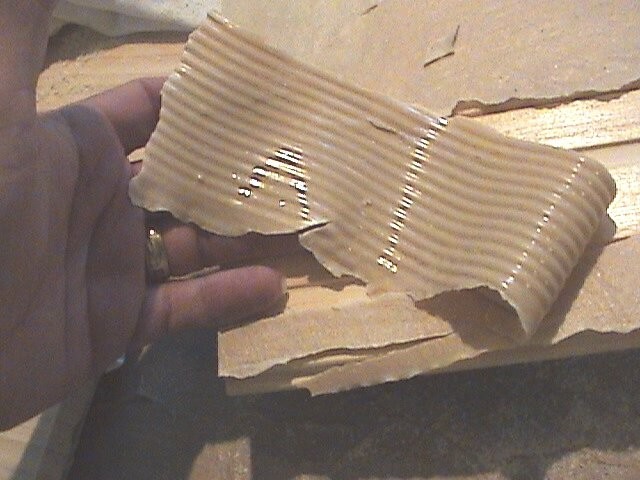
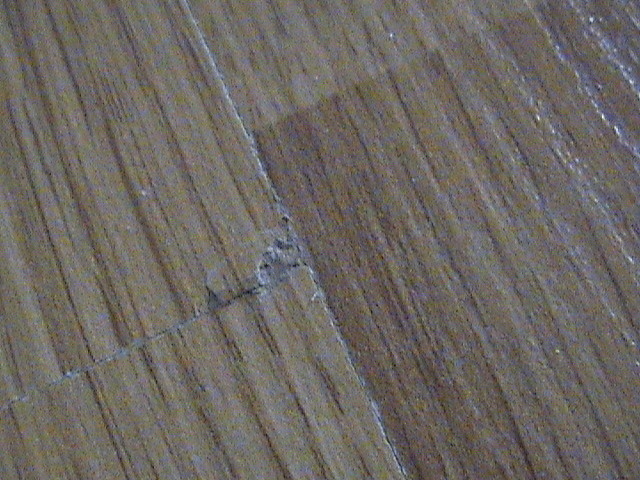
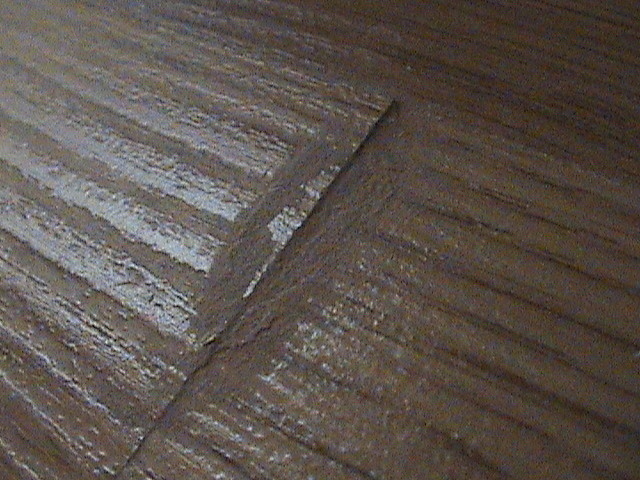
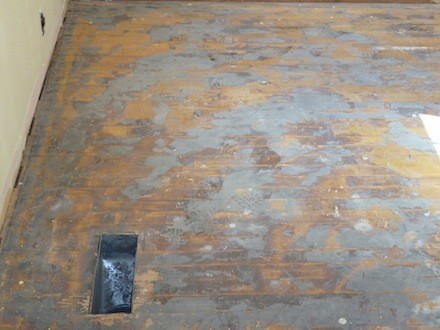
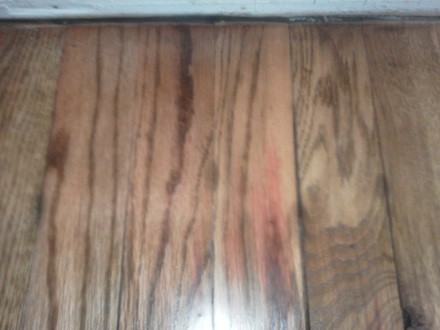
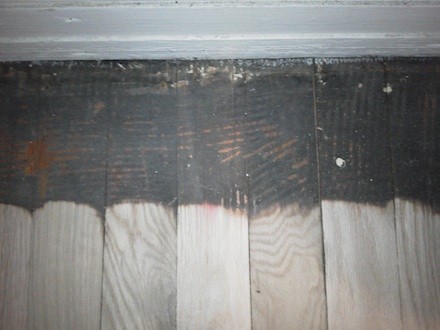
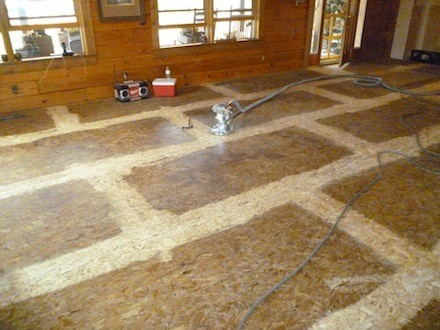
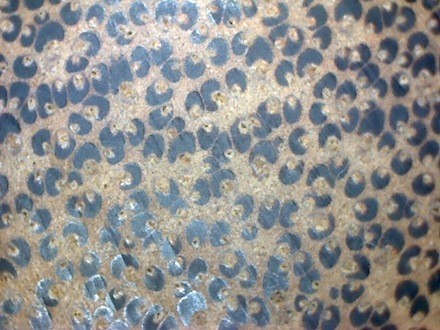
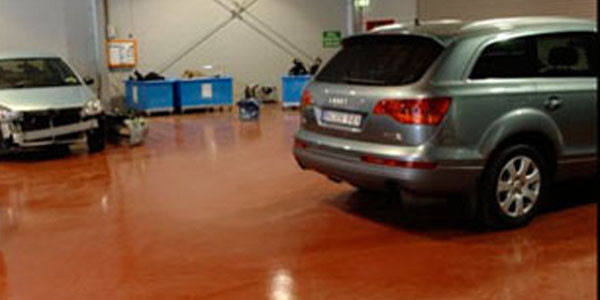
PHOTOS
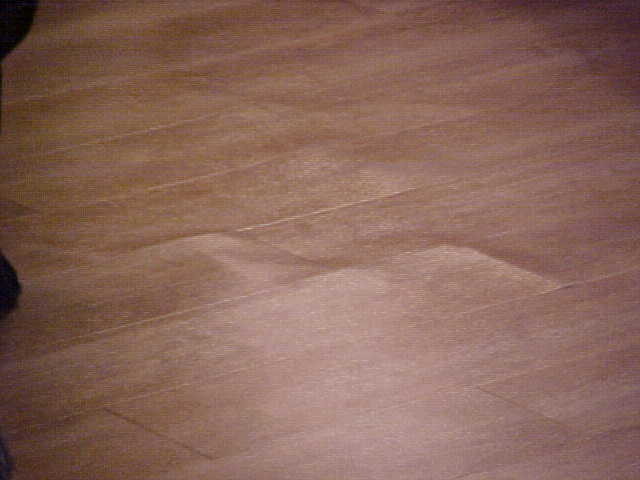
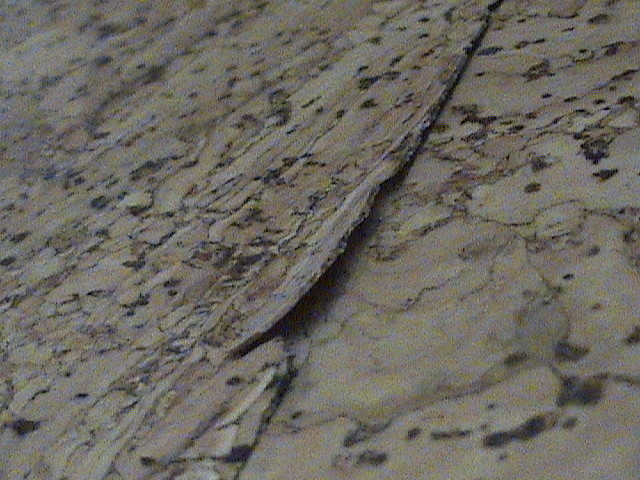
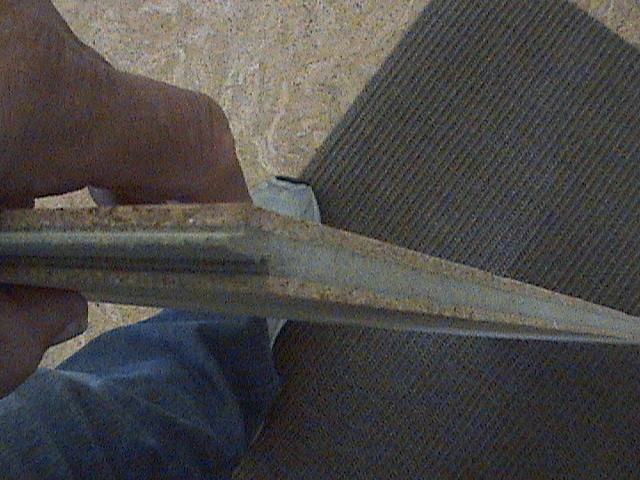
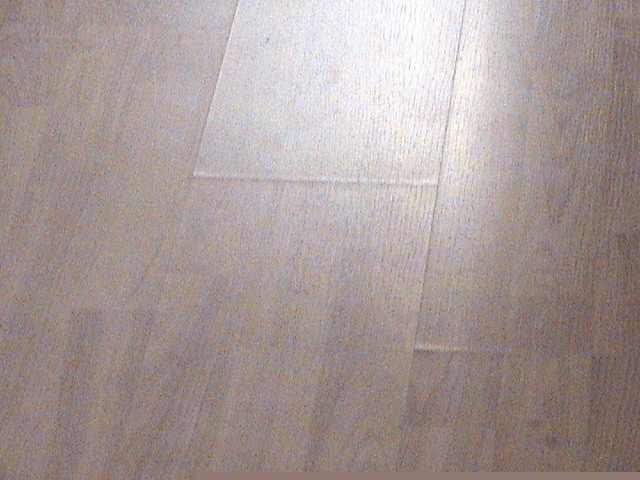
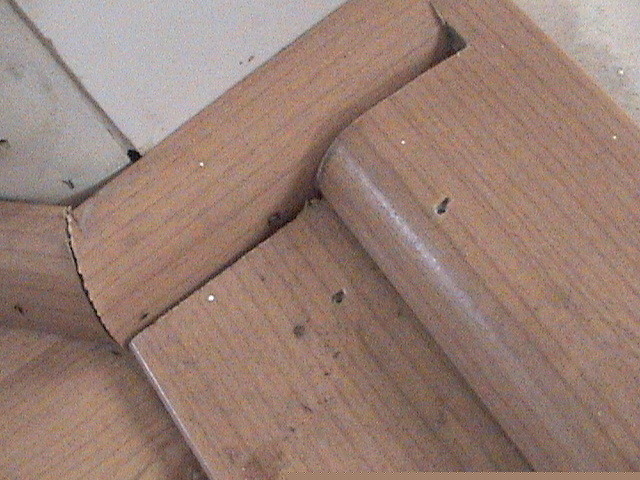
IS THIS YOUR COMPLAINT?


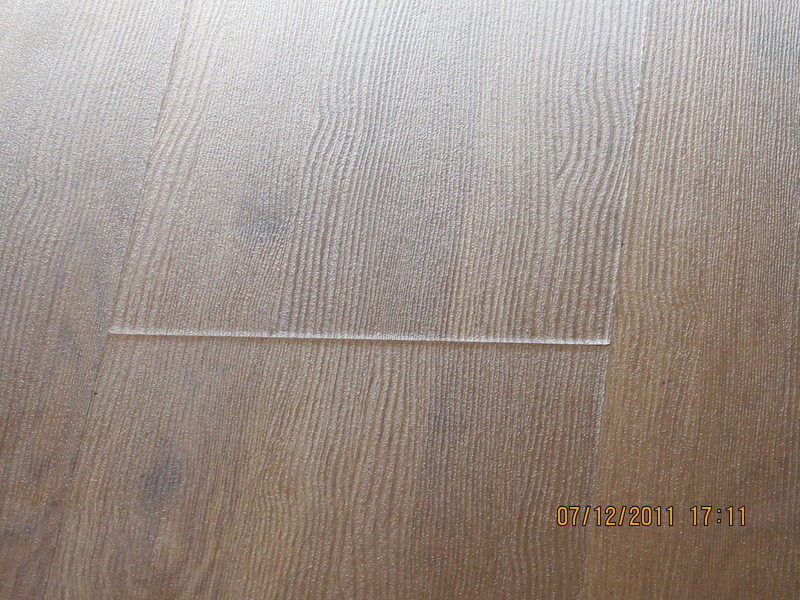


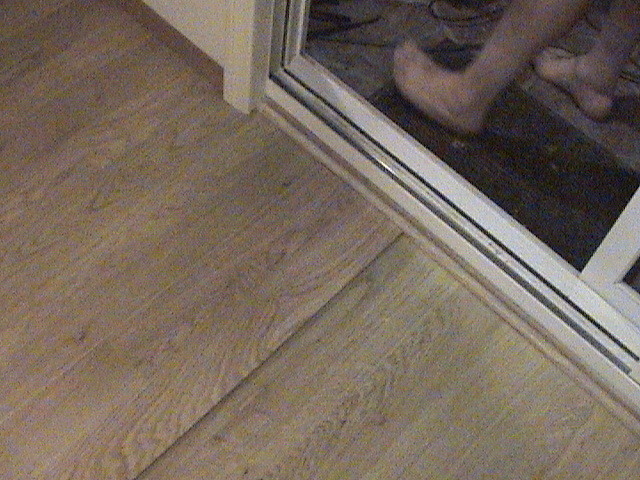

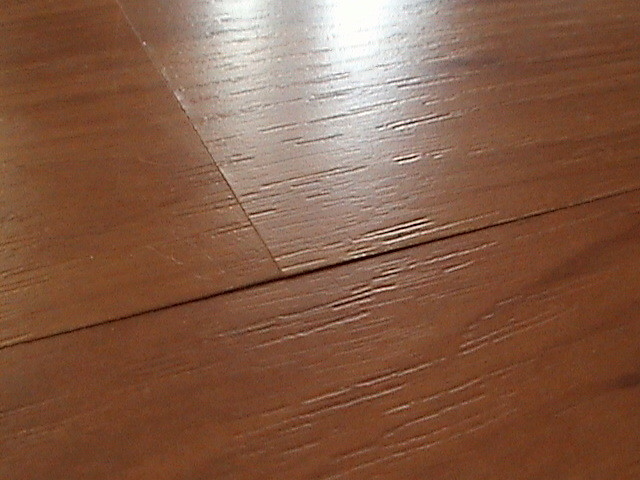

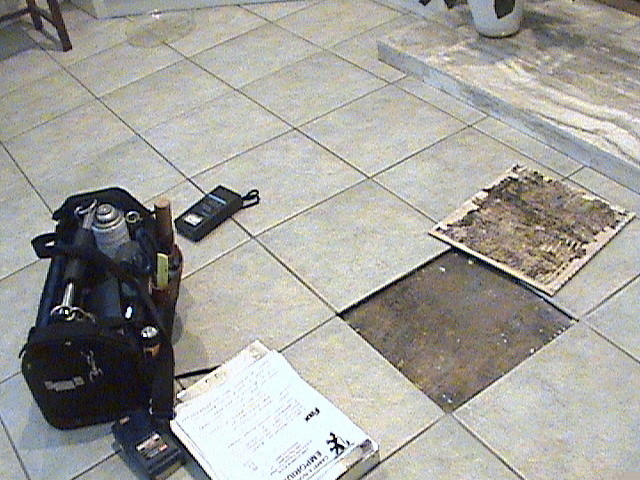
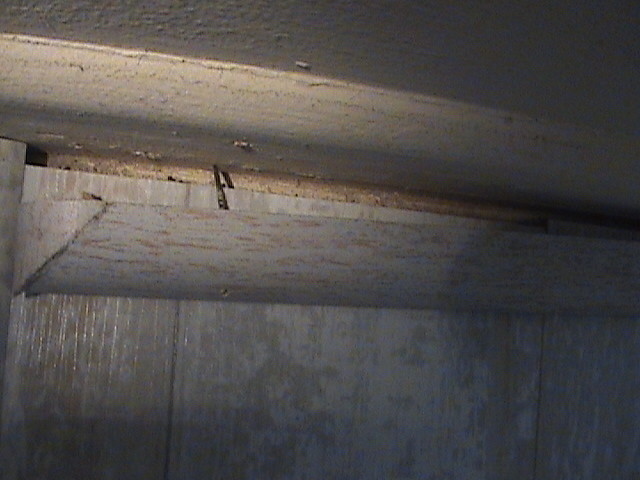

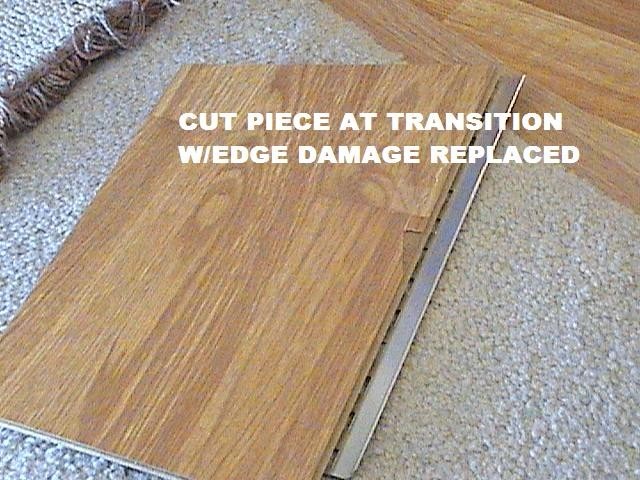


LAMINATE

CONTENTS BELOW INCLUDE:
HISTORY
- DEFINITION WICKIPEDIA
- LAMINATE
- DIAGONAL INSTALLATION
- LAMINATE TESTING
- RATINGS
- UNDERLAYMENT ACOUSTICS
QUESTIONS EMAIL AT: floorcovering@cox.net
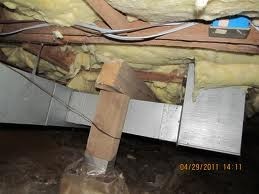
NOTE: Effectively evaluating PROBLEMS WITH LAMINATE FLOORING can include
identifying several other factors.
Contact F.C.I.S-CA for complete analysis.

HISTORY
Laminate flooring was invented in 1977 by the Swedish company Perstorp, and sold under the brand name Pergo. They had been making laminate surfaces since 1923. The company first marketed its product to Europe in 1984, and later to the United States in 1994. Perstop spun off its flooring division as the separate company named Pergo, now a subsidiary of Pfleiderer. Pergo is the most widely known laminate flooring manufacturer, but the trademark PERGO is not synonymous for all laminate floors.[2]
Glueless laminate flooring was invented in 1996 by the Swedish company Välinge Aluminium (now Välinge Innovation) and sold under the names of Alloc and Fiboloc. However, a system for holding flooring panels together was also developed in parallel by the Belgian company Unilin in and released in 1997.
The two companies have been in a great number of legal conflicts over the years, and today most, if not all glueless locking flooring is made under license from either Välinge, Unilin or even a combination of both.
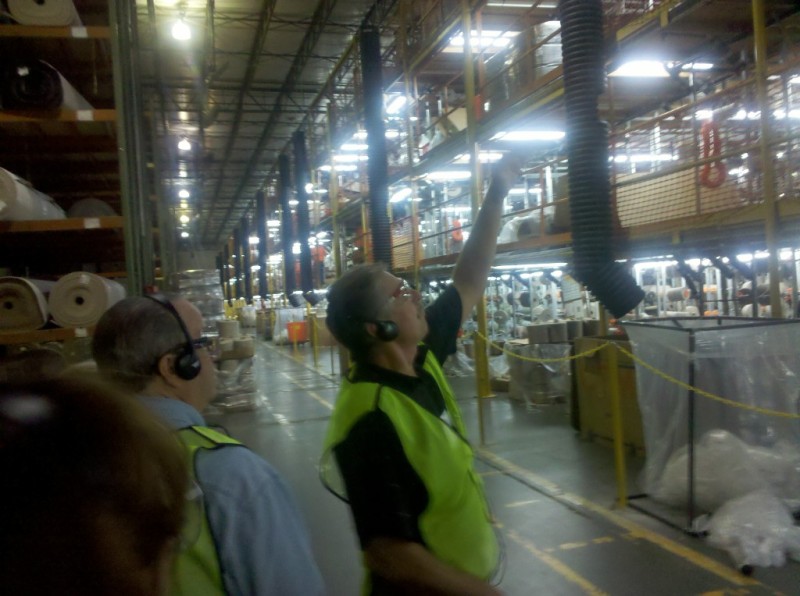
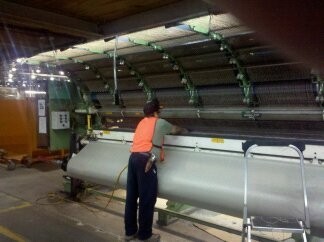
MANUFACTURING - VIDEO
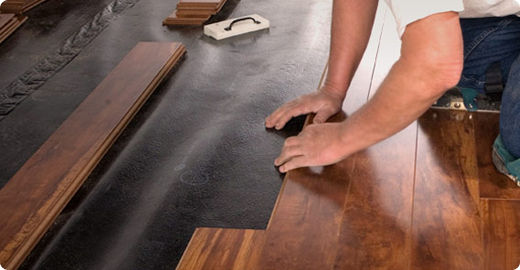
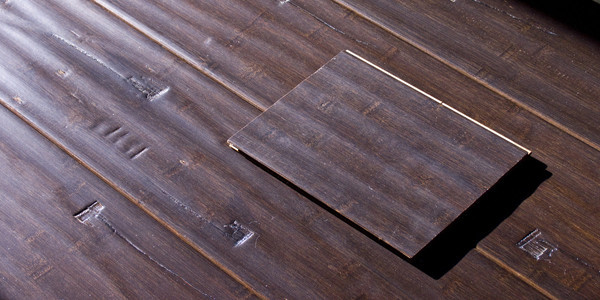
1. LAMINATE
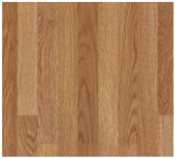
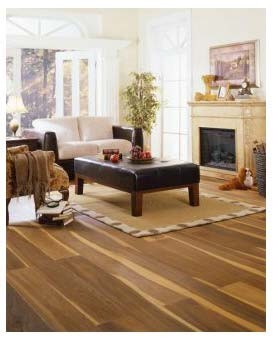
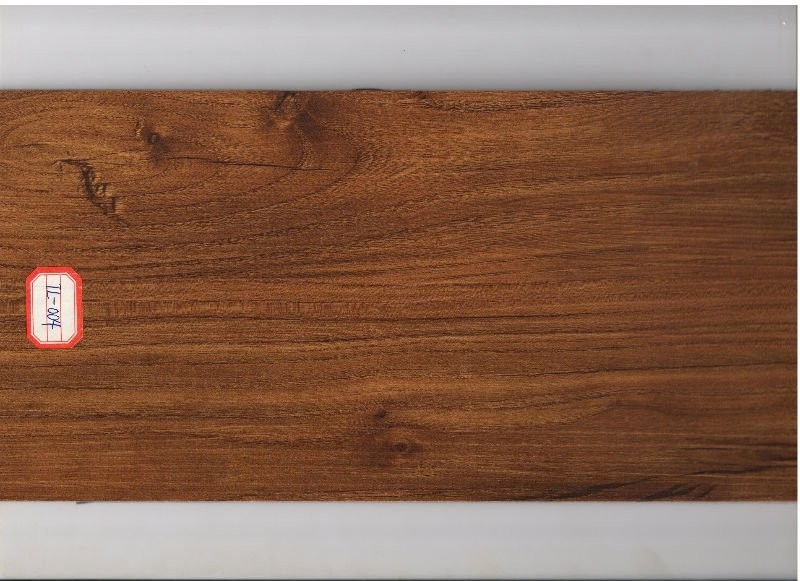
Laminate Wood Floor
Laminate wood floors has improved well in standards in recent times and the advancement of technology has provided the necessary boost. Both the quality and durability of laminate floors can match that of hardwood flooring. Laminate wood surfaces can be beautiful especially because floor manufacturers like Armstrong, AlsaFloor, Classen and Pergo provide great textures, colours and finish when it comes to laminate floors. Here are some of the benefits of going for high quality discount laminate flooring.
Low Prices
It is possible to purchase rustic or mahogany finish, 12 millimeter laminate planks at $2.50 per sq. ft. or even less for multiple rooms, online. Further, unlike in the case of hardwood floors, you can do the floor yourself as a DIY project if you know the basics like measuring, preparing sub floor and sawing a plank to the right size. The floors can be easy maintained once installed and can be easy cleaned too.
Environmentally Friendly
A good laminate plank can be reused. In fact, the flooring itself can be taken out in parts and reused as the planks are highly durable. The planks ar environment-friendly too. Moreover, hardwood flooring in particular leads to chopping down of trees in forests, which isn’t really required in case of laminates whose production is far more controlled and cultured. You need to keep wax, varnish, or polishes away from laminate floors so they are much safer for kids or pets.
Resistance
Laminate wood is extremely resistant and durable. If you pick classic laminate panels, you don’t need to worry about chemic penetration. Such panels are resistant to wine, tea, markers, coffee, organic solvents like propanone and household cleaning solutions. They ar also burn-resistant unlike vinyl or carpeting floor which are affected extensively by burning cigarettes. The panels also don’t show a lot of wear and tear when there is a lot of traffic. The fade resistant panels that aren’t affected by UV rays stay free of scratches made usually by heels, pets and office chairs as well. Most importantly, if you get the high-density boards, you can achieve heavy impact resistance, that can withstand long-term pressure due to beds and chairs or sudden impact caused by dropping objects.
Variety
Laminated wood floor is a great option for new houses as well as old for the sheer variety available. You can find excellent online deals on your favorite colors, textures and finish. Whether you prefer a Pecan look or the classic mahogany, your laminate flooring can be designed to imitate the style. Features such as high-impact resistance, commercial durability in offices, hand-scraped and piano finish, waxed edges, attached pads and beveled edges can also be requested for. The flooring can be fitted in place with its lock and groove system. There is no need to glue the edges or use nailing and hammering, especially when there isn’t much of a moisture scare. There is also a long standing warranty of laminate floors which ensures greater value for your money.
#2 POTENTIAL HEALTH EFFECTS
Potential health effects
Laminate flooring is often made of melamine resin, a compound made with formaldehyde. There has been increasing concern about indoor air quality from releases of volatile organic compounds from building materials made with formaldehyde. [1] Some laminate flooring (parador proair) uses a chemical process to reduce and neutralise formaldehyde emissions throughout the life of the floor.
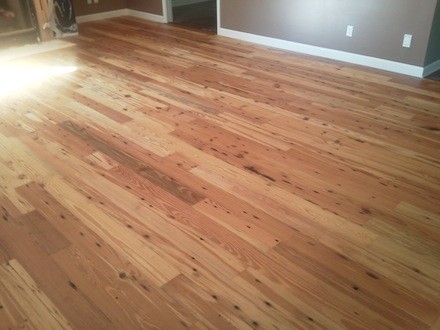
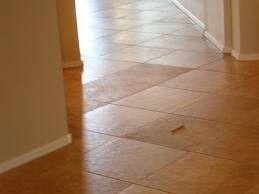
#3 DIAGONAL INSTALLATION OF LAMINATE
Diagonal installation of laminate floors may be the most cost-effective way to provide a floor with a unique
appearance. The diagonal in-stallation procedure is fundamentally the same as the square installation method, except for the layout,
starting point (starting line), cuts and waste factor. A diagonal installation looks like a complex, custom installation. In reality, it is simply a new angle on a tradi-tional straight
installation. Capitalize on its mystique.
Layout
The aesthetics of the project depend on the accu-racy of the layout as it interfaces to the obstacles within the room. To make a diagonal layout, start by dividing the room into four quadrants (a
geo-metric shape with 90° angles) using perpendicular chalk lines centered in the room. Once you've successfully placed the lines on the floor, you should determine the orientation of the
laminate product (assuming it has a directional de-sign element or rectangular shape) chosen for the installation. Bisect the upperleft and lower right quadrant or vice versa, depending on
product direction with a straight line at the intersection of the two perpendicular lines (diagram 1). The bisecting line will run at a 45° angle to the walls that are square with the
perpendicular lines. If you need to move the line, you can preserve the integrity of the 45° angle by keeping the subsequent line parallel to the origi-nal 45° angle line. This article was
written to provide insight into some of the key steps, tools and accessories re-quired for diagonal laminate floor installations. Be sure to follow the product manufacturer's recom-mendations and
obtain the company's installation/specification manuals. There is a wide variety of installation training schools, clinics, seminars and certification programs available at all skill levels.
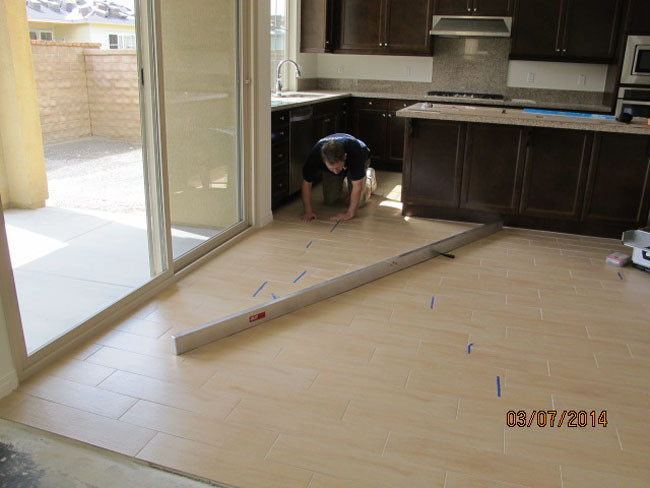
Starting Point
Generally, an installation that's square with the walls of a room will start parallel to the longest, straightest, most visible wall. The installation is completed by working systematically toward
the opposing wall using the factory edges of the product to maintain a true configuration of the components. Unfortunately, a diagonal installation proceeds from one corner to the opposite corner,
which makes accuracy impossible if the starting point is a corner. The layout technique outline above provides a starting line that alows the installer to begin straight and stay straight
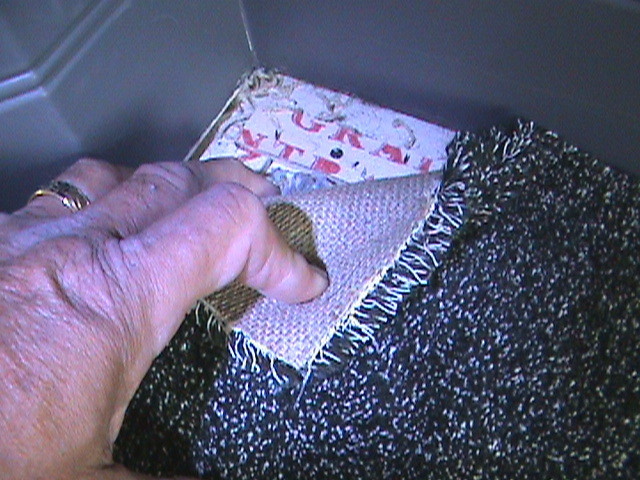
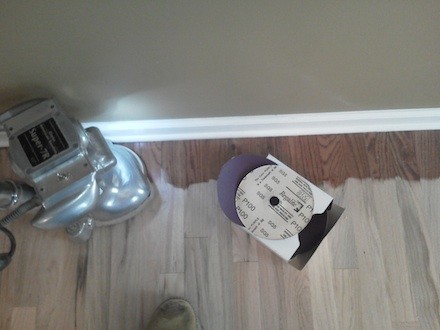
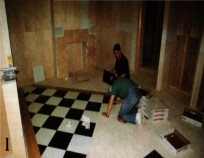
without the benefit of a wall. Starting the installation from a ine in the center of the room requires a temporary straight-edge that is secured for the entire length of the starting line
(photo 1). The temporary straight-edge must be stable enough to push against during the alignment of the manufacturer's recomended starter rows before proceeding further with the
installation.
Diagram 1. Typical layout for diagonal installation
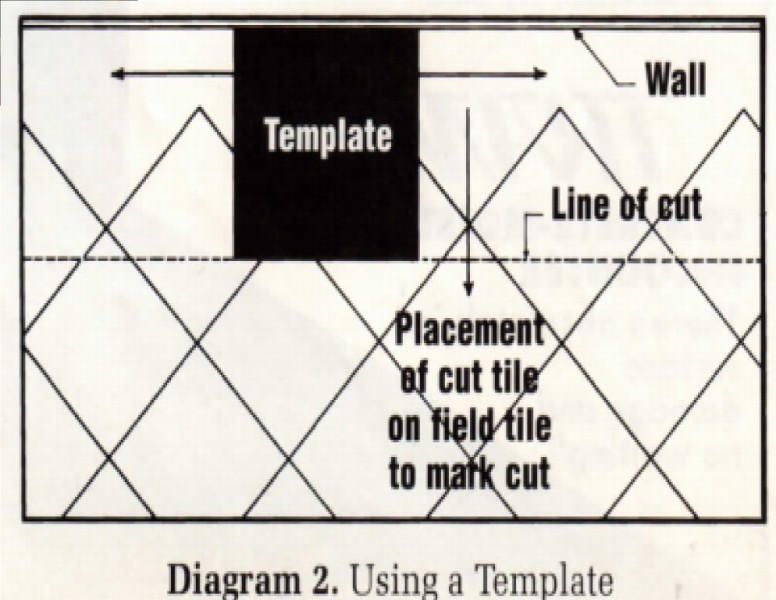
Diagram 2. Using a Template for a 45° described mended starter rows.
Allow the recommended curing time for the adhesive used on the starter rows before pro-ceeding further with the installation. Continue the installation using the factory components. Eventually, you will need to make cuts (modification to the factory-sized modules) to fit the floor at walls, cabinets or other vertical surfaces. A starting line for a 45o diagonal installation, if created as above, will always guarantee equal cuts at opposite walls.
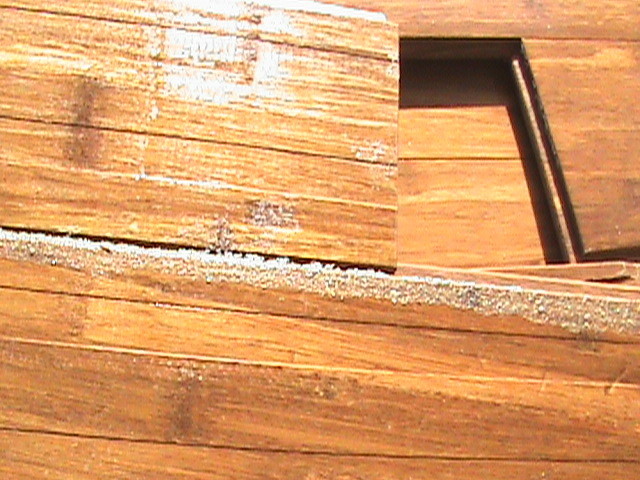
Cuts
Conventional fitting techniques for a square installation will not work for a diagonal one. The dimensions of the product will deter-mine the technique required for an accurate fit of the cuts. Below
are procedures for square tile and rectangular cuts.
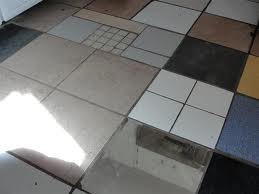
Tile
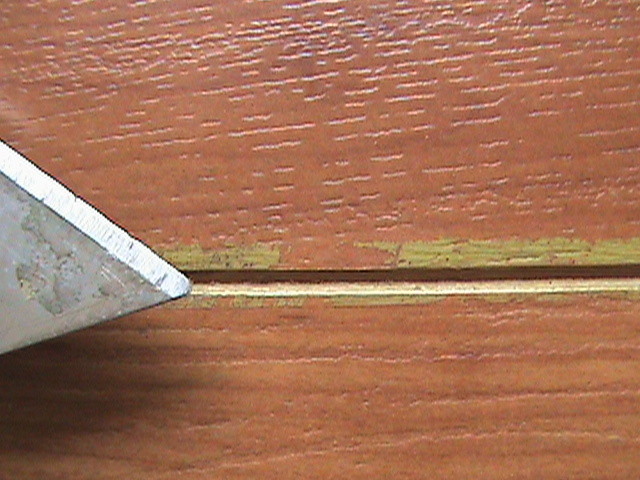
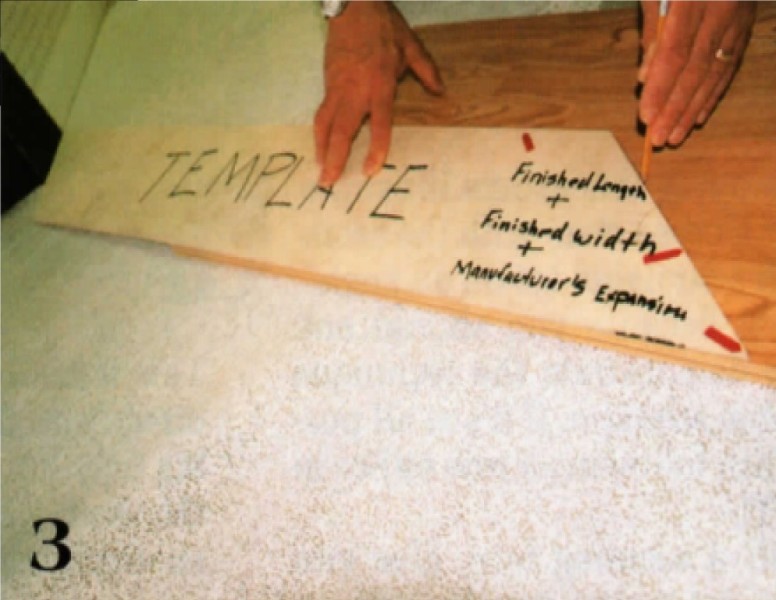
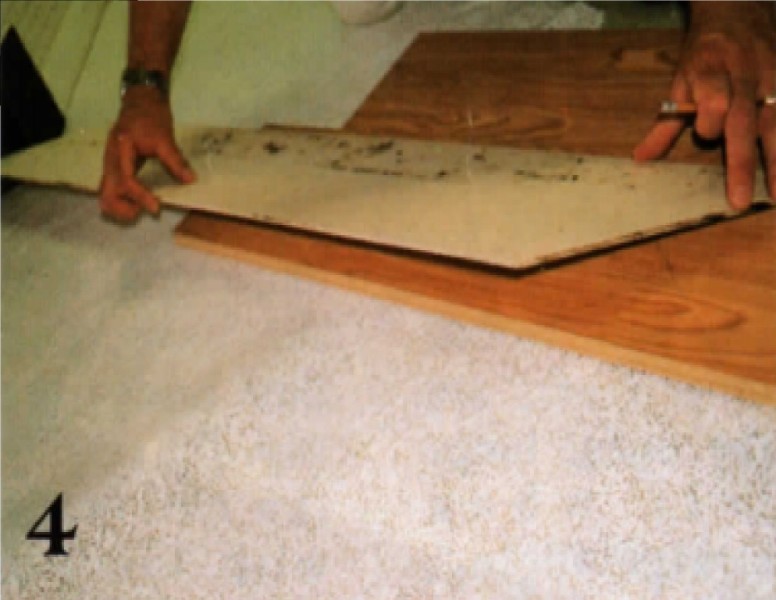
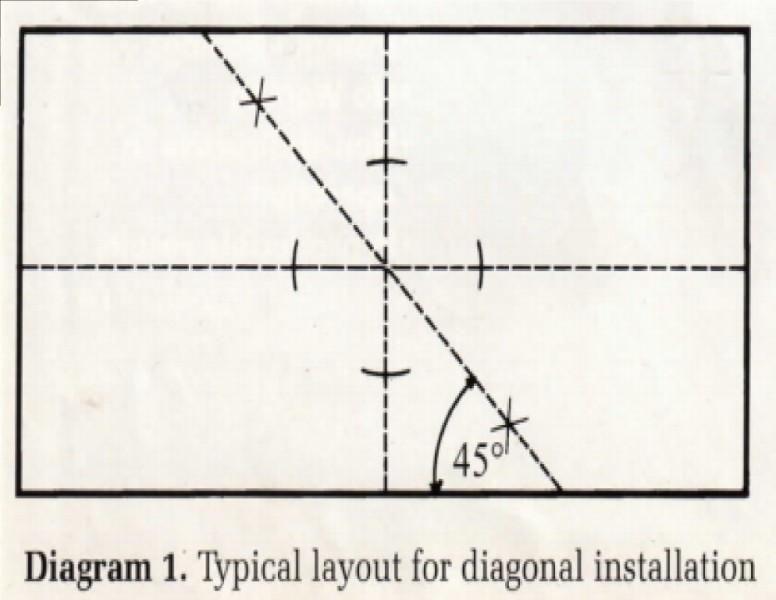
Square tile components installed on a diagonal can be easily fit to any wall or vertical surface by making a template of hardboard, cardboard or plywood. The template should be a square created by using the diagonal measure-ment of the tile (point to point) chosen for installation. For example, a 12" x 12" vi-nyl composition tile measured diagonally from point to point is 17" long, which means the template should be 17" square. Marking the product for the cut is accomplished by placing that tile on the ad-joining field tile (tile whose point is opposite the wall and will be adjacent to the cut tile at that point). When the template is placed square against the wall in the void reserved for the cut tile, the template should overlap the cut tile (on top of the adjoining tile). See diagram 2. After the cut tile and templates been positioned, simply mark or score the cut tile along the tem-plate edge opposite the wall. You may cut the score or mark for an accurate fit of the cut tile. The manufacturer's recommended expansion can be added to the template to achieve correct perimeter spacing. Rectangular blocks (planks). Any laminate prod-uct components that are manufactured as rect-angles will also require a template of hardboard, cardboard or 1/4" plywood. The template's dimensions should equal the precise finished width of the product being installed (excluding the tongue). The length of the template will be equivalent to the product's finished length and width (excluding the tongue) and an allowance for the manufacturer's recom-mended perimeter expansion spacing. For example, a laminate plank's finished size of 8" x 48" would call for a template that measures 8" x 56 & 1/4" including the manufacturer's recommended 1/4" expansion spacing. To complete the template, cut 45° angles on both ends of the template that are parallel (photo 2). To use the template, place the cut rectangle precisely on top of the adjoining field rectangle and slide the template toward the wall until the 45° angle on the template fits the wall. You may mark or score along the opposite end of the template for the cut (photo 3). An accu-rate fit for an out-side corner is accomplished by rotating the width of the template 180° and marking the new angle (photo 4). Waste Factor A small, complex square in-stallation will have a waste factor of 8% - 10%, depending on the size and quality of the product. A diagonal installation of the same area will drive the waste factor up to 10% - 12%. The four categories I've addressed — layout , starting points, cuts and waste factors are critical factors in a suc-cessful diagonal installation. But be advised that a dagonal installation is more labor-intensive than square one. The aesthetics of a diagonal installation are dynamic and can easily justify the charge for labor and profit. Also, these challenging jobs provide installation artisians with the pportunity to stretch their skills. By offering di-agonal installation, you'll be able to give your client an exciting new floor product with a twist on design. +

#4 LAMINATE TESTING
Laminate Testing
Armstrong's Testing and Analysis Laboratory, a technical service group located at the Corporate Center in the lower level of the Floor Products Operations Research and Design building. This staff of technicians and scientists has literally hundreds of years of combined experience in providing routine product and process information as well as solutions to "one of a kind" problems. Serving all Armstrong divisions and many world-wide plants, TAL delivers a level of familiarity with Armstrong materials not found in outside labs, while assuring confidentiality of results.
The following tests simulate realistic applications and have been adopted from residential sheet testing. It is this thorough testing that makes our laminate a premium product. These are the differentiators that stand the test of time and capitalize on “Let the Buyer Have Faith”.
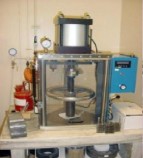
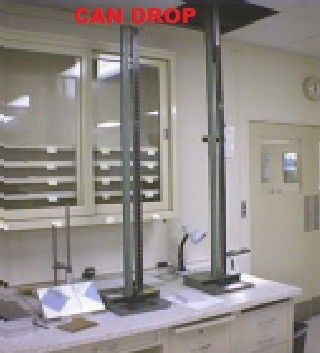
Can Drop – Simulated
Purpose: To simulate damage caused by dropping a food or beverage can from a counter or cabinet onto a wear surface. A 13oz. projectile, shaped to simulate the curved edge of a can, is dropped from varying heights. For laminate flooring, 3 drops are made from each of the test heights. Normally, drops are made at 5” increments from 5” to 45” heights. The height at which all 3 drops make a distinct indentation is recorded as the failure point. Most laminates will be in the 20” to 30” range.
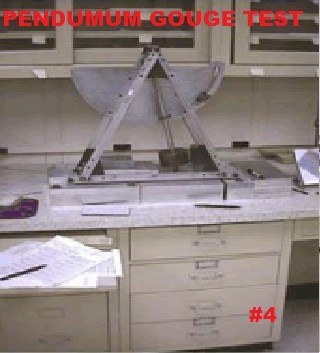
Pendulum Gouge
Purpose: To determine the force required to cause rupture to a wear surface. A weighted pendulum with a rounded foot is dropped onto the surface. Drops are made from 5” to 45” and the height at which a distinct disruption of the surface occurs is considered the failure point. Most laminates will be in the 20” to 25” range.
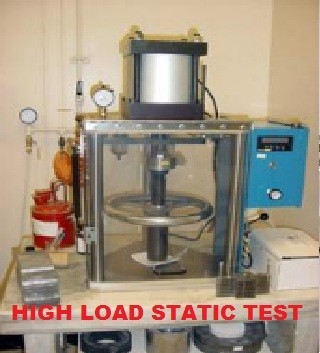
High Load static Test
Purpose: To determine the indentation resistance of a material under a heavy static load condition, such as the foot of a piano. We use the NALFA (North American Laminate Flooring Association) test method which requires 1450 Lbs. per sq. in. for 24 hours. The residual indentation is measured after 24 hours. In order to meet the NALFA requirements, the indentation depth must be no greater than .001”.
Indentation Test (resilient ASTM test performed on laminate)
Purpose: To determine the indentation resistance of a material to brief concentrated loads such as spike high heeled shoes. This test applies 150 lbs. weight to a .0178” diameter tip for 30 seconds. The residual indentation is measured 15 minutes after the weight is removed. Most laminate will indent .001” or less.
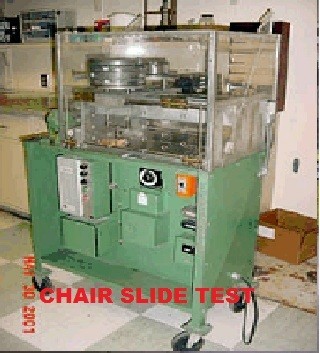
Chair Slide
Purpose: To simulate a person sliding a chair with floor protectors over a floor. A load of 38 lbs. is applied to the test leg. This would equal a 152 lb. person on the chair ( 4 legs x 38 lbs. each). A polyethylene floor protector foot is attached to the test leg. A special test powder containing #10 grit is applied to the sample. The machine makes 20 passes dragging the leg back and forth along the length of the test sample. The sample is then given one of 5 visual ratings: Very slight, slight, moderate, moderate-severe, severe damage.
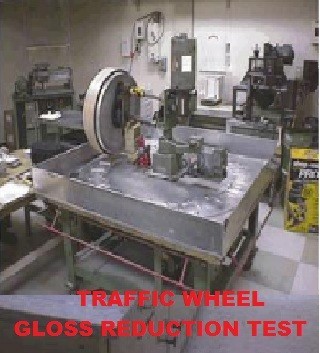
Traffic Wheel – Gloss Reduction (not ASTM, Armstrong internal)
Purpose: to determine the degree of gloss loss using the traffic wheel. This test was designed to simulate foot traffic. The traffic wheel causes a gradual loss of gloss by means of an artificial abrasive type soil spread under a leather wheel. Sample gloss is measured initially, after 30, 60, and 90 minutes of testing.
Taber Abrasion (test specified by NALFA)
Purpose: To determine the number revolutions needed to get wear through of the print layer. This is run using the laminate flooring test method. A 4” x 4” sample is rotated under a revolving wheel covered with a specific sandpaper. The sandpaper is changed every 200 sample revolutions. The sample is visually examined each time the paper is changed. When there is wear through in 3 of the 4 quadrants, the test is terminated and the number of revolutions needed to reach that point is recorded.
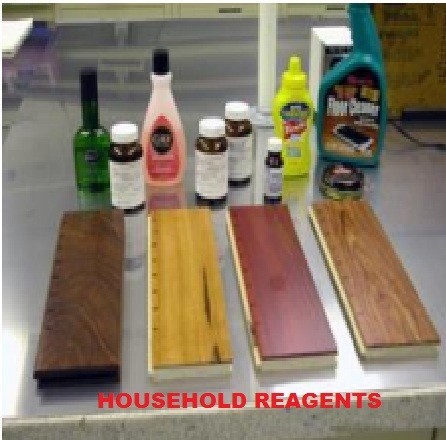
Stain Resistance – Household Reagents
Purpose: To determine the stain resistance of several common household items. There are 6 stains used: blue ballpoint ink, blue marker pen, iodine, shoe polish, hair dye, driveway sealer. Initial color measurements are made at 6 spots where the stains will be applied. A small amount of each stain agent is applied to the sample. They are allowed to remain on the sample surface for 24 hours. The samples are cleaned to remove as much stain as possible. Color measurements are made again and a Delta E value is calculated. The lower the Delta E the better. Most laminates will be 10 or less.
James Coefficient of Friction (most widely recognized and used)
Purpose: To determine the slip resistance of flooring surfaces. This test is named for the James machine which is the most widely used and recognized in the industry. A 3” x 3” leather foot with an applied load of 80 pounds is pulled across the sample at increasing angles. The point at which the foot slips is recorded and through some mathematical calculations a value is obtained. A value of 0.5 or greater is desirable.
Cigarette Burn
A lighted cigarette (Winston filter) is allowed to burn on the surface until a minimum of 1” is obtained. The burn area is cleaned with Armstrong New Beginning and a nylon pad. It is examined visually and rated for discoloration, charring, blistering and crazing. Most laminates will show no effects, some may show a trace of discoloration on light patterns.
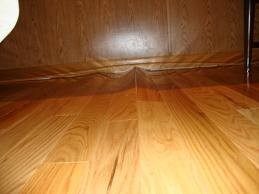
Dimensional Stability – Heat/ Moisture
Purpose: To determine the dimensional stability of products when subjected to heat and humidity changes. Sample size is 1” x 9” with 8” benchmarks measured with a Dilatometer. Specimens are heated 6 hours at 180F, cooled ½ hour at 73F over Drierite. Specimens are then placed 24 hours at 100F/90% RH, cooled ½ hour at 73F over water. The % change is calculated after cool down cycles. The smaller the change the better. Most laminates will be in the range of -0.3% due to heat and 0.1% growth due to humidity.
Breaking Strength
Purpose: To determine the amount of force needed to pull locking joints apart. Samples with a 1” wide joint are clamped into the Instron machine. They are pulled apart at a rate of 4” per minute. Results are reported as the average of 6 test samples as maximum load in in./lbs. The greater the value, the stronger the joint.
Water Immersion Test
A 6” x 6” sample is weighed and its thickness measured on 2 sides initially. It is immersed in water for 24 hours. After 24 hours it is removed from the water and towel dried. It is re- weighed and measured. Thickness swell and weight gain are calculated.
Wet Sponge Seam Test
Purpose: To determine the resistance of locking laminate joints and coreboard to either standing water or cleaning solutions. This test requires 2 samples. Test samples are prepared by locking together 2 – 8” long pieces of laminate. Initial thickness and seam peaking measurements are made. A sponge soaked with water is laid on the joint of one sample and a sponge soaked in Mr. Clean solution is placed on the other. The measurement and re-soaking activities are repeated daily for a total of 4 days. The final measurements, after 4 days exposure, are those which are reported.
Can Drop
Purpose: To simulate damage caused by dropping a food or beverage can from a counter or cabinet onto a wear surface. For use on resilient floorings constructed with a foam or sponge component. A 13 oz. projectile is dropped from varying heights until both the passing and failing heights are established.
Pendulum Gouge Test
Purpose: To determine the force required to cause rupture of a wear surface. Failure is obtained by dropping a weighted pendulum onto the surface. The pendulum may be fitted with either a sharp or blunt foot.
High Load Static Test
Purpose: Used to determine the indentation resistance of a material under a static load condition. Tip area is 1 square inch. Load can be as much as 3,000 lb. per square inch. Up to ten samples can be tested at the same time.
Indentation Test
Purpose: The Indentation Machines are used for a variety of Indentation tests for various products/materials. Different size tips and different loadings are used to measure how much a material compresses and how it recovers over a given period of time.
Chair Slide Test
Purpose: To simulate a person sliding a chair with floor protectors over a floor. A load of 18 lbs. is applied to each floor protector, with or without dirt, and is slid across the floor for 425 passes. Various floor protectors, grit, and number of passes can be requested. The testing equipment pictured is also used for seam rolling and key drag tests.
Traffic Wheel – Gloss Reduction Test
Purpose: To determine the degree of gloss loss using the traffic wheel. This simulates gradual loss by means of an artificial soil spread under a leather wheel.
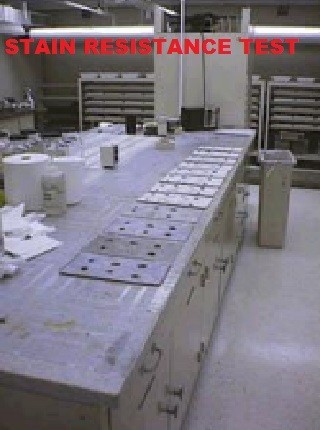
Stain Resistance Test – Household Reagents
Purpose: To determine the stain resistance of resilient flooring or wood flooring when subjected to: · various household and commercial reagents, or · various hospital reagents, or · Neozone (N-Phenyl-1-Naphthylamine, 98%). This is to reproduce the staining that occurs under pedestrian traffic conditions from the antioxidants in rubber soles of shoes.
Instron Machine – Strength Test
Purpose: The Instron is used for a wide variety of Strength tests, including Tensile Strength tests on various products/materials, Brown Tear test, and Tear Resistance test (Trouser method


NOTE: Effectively evaluating PROBLEMS WITH LAMINATE FLOORING can include
identifying several other factors.
Contact F.C.I.S-CA for complete analysis.
#5 RATINGS
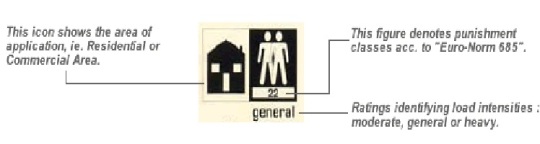
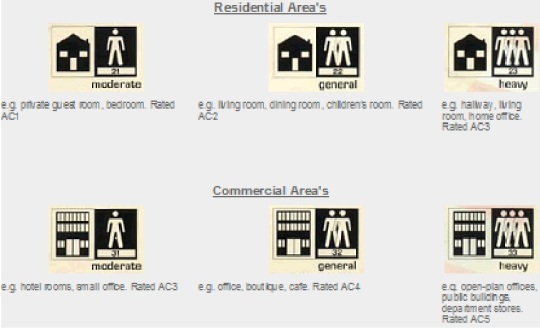
Most laminate flooring that is produced today will have a laminate flooring rating, which is refered to as an AC Rating. These ratings are based on standards that were developed by the Association of European Producers of Laminate Flooring (EPLF). There are now some major manufacture’s of laminate flooring in America and other parts of the world, but no other laminate flooring ratings have been set, and new designs and innovations still come from Europe.
The AC Rating is a set of tests that are carried out on the laminate flooring to see how well it survives under certain conditions. These quality control tests cover area’s including resistance to abrasion, impact resistance, stain resistance, burn resistance, and the effects of furniture marks and thickness swelling along element edges. The test results give the laminate flooring rating.
The rating system starts with AC1 which is the lowest, and this laminate flooring should only be used in light-traffic area’s. At the other end of the scale is AC5 which is produced for the commercial market and for use in very high-traffic area’s. A laminate flooring rating of AC2 or AC3 is found on flooring tailored to the domestic and residential market. If you are tempted by some very cheap laminate flooring, you may find that it hasn't got any type of AC rating because it probably failed to meet the minimum requirements. When a product is being tested, if it fails on just one single test, then approval for that laminate flooring rating is denied. For residential use, a rating of AC3 is perfectly adequate. If you have a budget in mind then don’t forget that typically the higher the laminate flooring rating, the higher the price.
The test devised for abrasion resistance has now been updated to the new European standards (EN13329), and that results in lower numbers than the old method. This test (the Tabor Abrasion Test), is still performed in the same way, but the abrasive paper used on the test equipment is now replaced more frequently. As such it makes the test more demanding and thus produces the lower numbers.
When choosing laminate flooring be careful to consider other factors and not just the laminate flooring rating or the abrasion resistance number. Some manufacturers are promoting their laminate flooring on a high resistance number. If this was rated under the old system, then their laminate flooring may be less resistant to abrasion than other laminate flooring which has a lower number, but is rated under the new system.
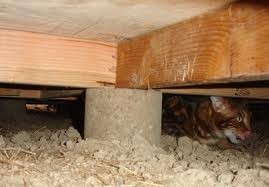
6. UNDERLAYMENT ACOUSTICS
FLOORING UNDERLAYMENT ACOUSTICS:
Impact Insulation Classification North American Laminate Flooring Association (NALFA)
The importance of acoustics is often forgotten until a building is completed. However, the 2010 California Green Building Standards Code (CalGreen Code) which took effect January 1, 2011 made it mandatory for all new construction in California (non-residential and residential up to three stories) to comply with certain acoustical control standards. The required sound mitigation performance is measured and classified in both of two standard methods defined as Sound Transmission Class (STC) and Impact Insulation Class (IIC). Why should you care – especially if you do not live or work in California? Well when it comes to building codes, as California goes, so does the rest of the country – at some point.
1
Minimizing impact and airborne sound in multi-family dwelling begins in the design phase. A number of factors contribute to a room’s sound insulating ability: 1) floor/ceiling/wall construction and room size and shape; 2) Interior décor, such as wall hangings and curtains and finishes and furnishings such as chairs, sofas, tables and rugs; 3) choice of floor covering material; 4) use of a flooring underlayment. The cumulative effect of all these components are what provides the final sound characteristics of the space. No single component can fulfill the requirements for building requirements, which consider the effects of the sum of these components.
Multi-family units are constructed using a variety of designs and material. The floor/ceiling area of a condominium could consist of a 4” to 12” reinforced concrete slab. The same suspended concrete subfloor could include a suspended ceiling. The suspended ceiling could include varying levels of sound insulating products like fiberglass or cellulose insulation. There may or may not be isolation barriers between the slab and the perimeter support walls. Wood frame construction may consist of just a plywood sub-floor over a solid plank or I-beam floor joist, or may include poured lightweight concrete on top and/or a suspended ceiling. Again fiberglass or cellulose insulation might also be included either between the floor joists or in the suspended ceiling or both.
An often overlooked, but important factor involved in the noise level within the living space of a condominium unit is w hat happens to the sound vibration after it enters the unit below. Smooth walls and hard surface furnishings will allow sound waves to deflect or “ bounce” from the surface, resulting in elevated noise levels within the unit. Upholstered furniture, area rugs, wall and ceiling finishes, and textile window dressings will help diffuse and absorb in-room sound, which will tend to lessen the intensity. Source Thornburn Associates Inc. April 2011 Newsletter
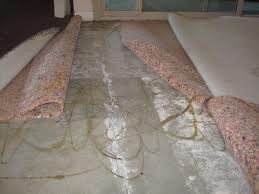
The popularity of hard surface flooring such as laminate, wood, and ceramic tile has elevated the interest in improving sound insulation in condominiums and other multi-family dwellings. The us e of a sound deadening underlayment for hard surface flooring is important for impact sound such as footfalls, objects dropped on the floor, etc.
There are a number of different types of underlayments available on the market. With the many types of condominium construction, getting accurate sound deadening comparisons among the different categories of underlayments in relation to their contribution to the sound isolation of an entire floor/ceiling assembly has been difficult.
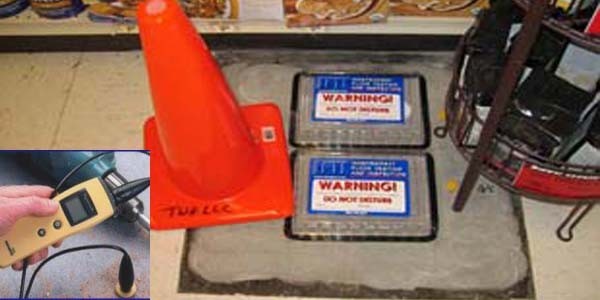
The accepted sound test methods in North America are 1) Impact Isolation Class (IIC), ASTM E492/E989, for impact sound and 2) Sound Transmission Class (STC), ASTM E90/413 for airborne sound. Both tests are conducted in a laboratory setting and evaluate whole floor /ceiling assemblies, not just the underlayment involved in the test. Field test methods for testing actual condominium units are also available for each type of test (Field IIC/ Field STC).
An integral part of a sound test report for any given laboratory, whether it is a laboratory sound test or a field sound test, is a detailed description of the whole floor/ceiling assembly. When comparing IIC (impact) and STC (airborne) test results among the different types of underlayments it is important to make sure those underlayments were tested in identical floor/ceiling assemblies. In addition to the variables (listed above) involved in the floor/ceiling construction of condominium units, there may also be variations in construction among laboratory testing facilities. While physical dimensions of the floor/ceiling assembly and receiving chamber in a sound testing facility are fairly simple to measure, the exact density and quality of construction of the test floors along with the climatic conditions in those facilities are much more difficult to equalize. Additionally, some laboratories utilize a membrane to isolate the testing room slab. Those variations among the accredited sound testing laboratories make it difficult to accurately compare the results from one laboratory to the next, even when the description of the floor/ceiling assembly is the same.
One last variation to consider in sound test reporting is the margin of error or tolerance level involved in the execution of the test method. Most sound testing engineers will acknowledge a testing tolerance of a least +/- one IIC or STC unit to account for laboratory anomalies such as: 1) sample material variation, 2) slight differences in sample placement on the test surface 3) changes in temperature and/or humidity, 4) technique differences when more than one technician is used, etc.
The Delta IIC test (ASTM E-2179) is a variation of the IIC which can be used to isolate the contribution of the floor and underlayment to t he total sound reduction. It can be performed with a standard concrete sub-floor and comparing the results of two different IIC tests; one with just the concrete slab and the other with the floor covering material and underlayment included. When you subtract the “slab only” IIC test from the IIC test that includes the flooring materials and underlayment, the result is an IIC number representing the change in (or Delta) IIC. For comparing the impact sound isolation ability of underlayments, the Delta IIC test allows for much more control over the many test variables. Typically, when evaluating IIC, it is desirable to use a construction for the test in which all other components that affect the acoustic properties are minimized or eliminated. This allows the most accurate isolation of the effect of the individual component (underlayment) being evaluated. Because the other contributing components are eliminated from the test, the values obtained do not fully represent the sound reduction of the full typical construction that would be used for evaluation against the standards and is only used to create a common ground for comparison of the contribution of the underlayment materials themselves.
In an effort to more accurately evaluate the impact sound isolation characteristics of the various categories of laminate underlayments available to consumers, The North American Laminate Flooring Association (NALFA) recently conducted Delta IIC sound tests on eight different categories of laminate underlayments available in the market. The tests were conducted using the exact same testing facility, the exact same test floor ceiling assembly, and the exact same laminate flooring material. The only variable in the testing was the type of laminate underlayment.
Categories of underlayment included in the testing were: cork, crosslink polypropylene foam, polyethylene foam/film, froth urethane foam, synthetic fiber, crumbed rubber, beaded polystyrene, and extruded polystyrene. Representative samples for each category were submitted for testing.
Results are as follows:
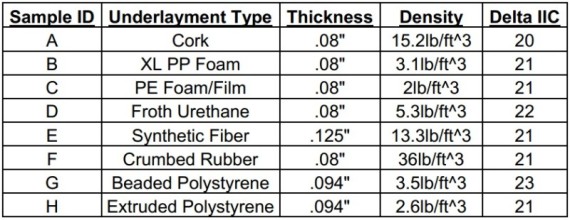
With Delta IIC results of 20 to 23, all of the laminate underlayments proved to significantly improve the impact sound isolation of the concrete subfloor. With a margin of error of +/- 1 unit, the difference among the eight categories appears to be statistically minimal.
For condominium residents interested in attaining accurate information regarding sound deadening characteristics of underlayments for hard surface flooring, the North American Laminate Flooring Association recommends the following:
1) Make sure that the sound test results reported by underlayment manufacturers have had actual sound tests conducted. Ask for test reports.
2) Make sure those reports include an accurate description of the floor/ceiling assembly used in the test.
3) Extremely high reported sound test values for any underlayment product should be closely scrutinized.
LEGAL DISCLAIMER: Access to, and use of, NALFA’s “White Paper - Flooring Underlayment Acoustics – Impact Insulation Classification” (hereinafter “White Paper”) constitutes acceptance of the following general terms and conditions. Neither NALFA nor any other party/member involved in creating, producing or delivering the white paper shall be liable for any improper or incorrect use of the information described and/or contained herein and assumes no responsibility for anyone's use of the information as well as any resulting direct, incidental, consequential, indirect or punitive damages arising out of any party’s access to, or use of, the White Paper. NALFA does not guarantee the accuracy of information provided by external sources contained herein and accepts no responsibility or liability for any consequences arising from the use of such data. Although the data/information contained herein has been produced and processed from sources believed to be reliable, no warranty expressed or implied is made regarding accuracy, adequacy, completeness, legality, reliability or usefulness of any information. Any Party that elects to use, reference or rely on the information contained herein represents they do so according to their own individual business judgment exercising all appropriate care and individual analysis. Though NALFA uses the best technical standards/testing/analysis in the production of the White Paper, material therein may inadvertently include technical inaccuracies or other errors. NALFA welcomes comments on the document. NALFA may change material on the site without prior notice.
Comments
-
Sharp thinking! Thanks for the asnwer.
-
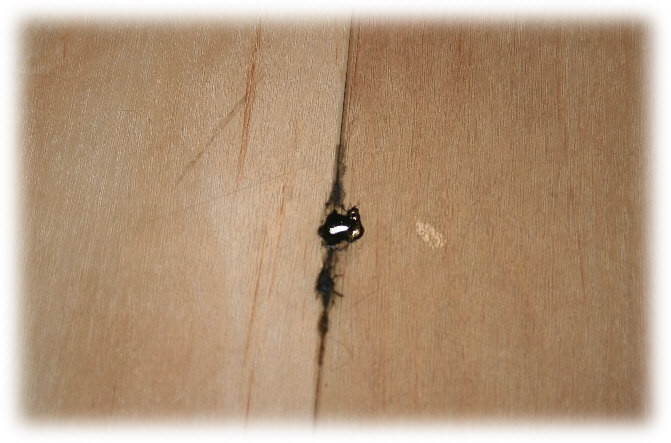
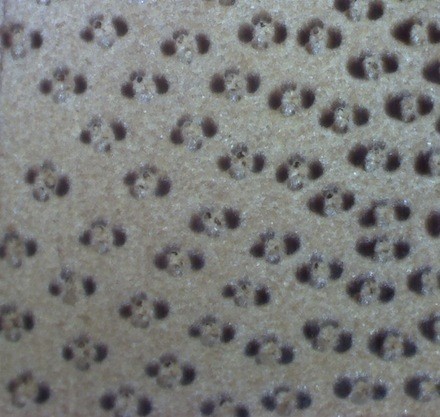
Very professional and informative website. Three and half years ago, we installed Wilsonart Commercial Laminate/Vertical Bamboo/Black in a customer's home and used Wilsonart's adhesive. The
installation was over Quiet Elegance underlayment.
The customer called today and complained of yellowish orange discolorations (spots was his description) along the vertical joint of several planks in his home.
I'm trying to find out what this could be from. Wilsonart is no longer in the flooring part of the business. Do you have any ideas?